The addition of a Thunderbolt 3 adapter card can significantly improve the performance and connectivity options of your computer. Thunderbolt 3 technology offers lightning-fast data transfer speeds, versatile connectivity, and the ability to daisy-chain multiple devices. Whether you’re looking to connect high-resolution monitors, external storage, or other peripherals, installing a Thunderbolt 3 adapter card can enhance your computing experience. In this guide, we’ll walk you through the necessary steps to successfully install a Thunderbolt 3 adapter card in your PC.
Prerequisites and Tools Required
Before starting the installation process, gather the following tools and ensure you meet the prerequisites:
- Thunderbolt 3 adapter card
- Screwdriver (typically Phillips)
- Anti-static wrist strap (optional but recommended)
- Compatible motherboard with a free PCIe slot
- Updated motherboard BIOS with Thunderbolt support
Step-by-Step Installation Guide
Step 1: Power Down and Unplug Your Computer
For safety, turn off your computer and unplug it from the power source. Press the power button for a few seconds to discharge any residual electricity.
Step 2: Open the Computer Case
Remove the screws securing the side panel of your computer case and carefully slide or lift it off, depending on your case design.
Step 3: Locate a Free PCIe Slot
Identify a free PCIe slot on your motherboard. Thunderbolt 3 adapter cards typically require a x4 or x16 slot. Ensure there’s enough space around the slot for proper installation.
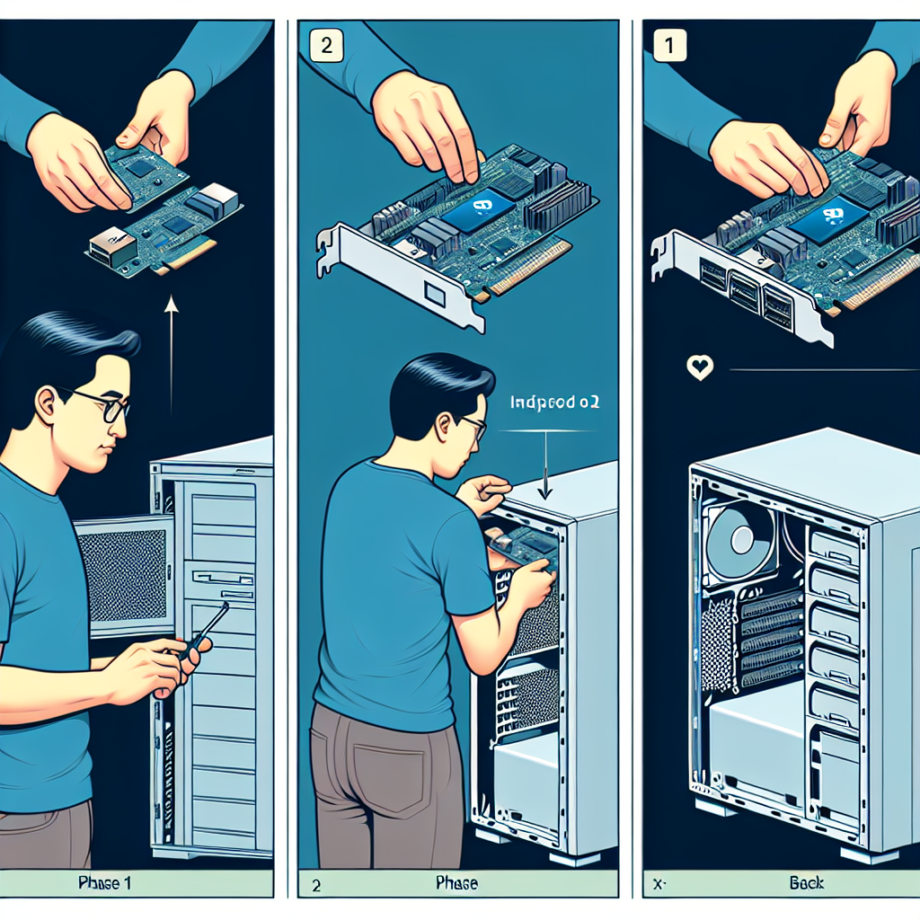
Step 4: Install the Thunderbolt 3 Adapter Card
Carefully insert the Thunderbolt 3 adapter card into the chosen PCIe slot. Apply even pressure until it’s securely seated. Secure the card with a screw if necessary.
Step 5: Connect Internal Cables
If your Thunderbolt 3 card requires power or additional connections (such as a header cable to the motherboard), connect these cables according to the manufacturer’s instructions.
Step 6: Close the Computer Case
Replace the side panel of your computer case and secure it with screws.
Step 7: Plug in and Power On
Plug your computer back into the power source and turn it on. Enter the BIOS/UEFI settings to ensure the Thunderbolt 3 card is recognized and enabled. Save changes and exit the BIOS.
Step 8: Install Drivers and Software
Once the operating system boots up, install the necessary drivers and software for the Thunderbolt 3 adapter card. This may include firmware updates and control software provided by the card manufacturer.
Troubleshooting Common Issues
If you encounter issues during installation, consider the following troubleshooting steps:
- Verify that the motherboard BIOS is updated and supports Thunderbolt 3.
- Check if the Thunderbolt 3 card is seated properly and all necessary connections are secure.
- Ensure the drivers and software are correctly installed and updated.
- Consult the card manufacturer’s support resources for specific troubleshooting tips.
Conclusion
Installing a Thunderbolt 3 adapter card is a relatively straightforward process that can greatly expand your computer’s capabilities. By following this step-by-step guide, you can enjoy the benefits of enhanced connectivity, faster data transfer speeds, and increased peripheral support. Always consult the manufacturer’s instructions for specific details related to your card model and motherboard compatibility. With the right preparation and careful execution, your new Thunderbolt 3 adapter card will be up and running smoothly in no time.